Lifting Loops
Filling & Closure
Discharge
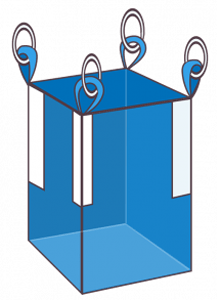
Lifting Loops
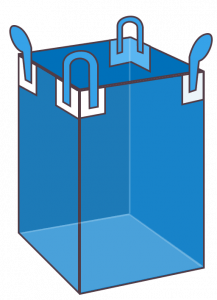
Cross – Corner Loops

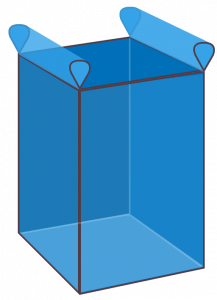
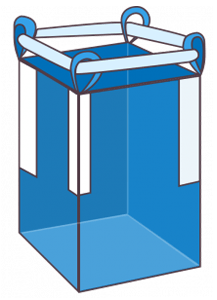
Side-Seam Loops
Sleeve Lift

Hood Lift
Ancillary Loops

Double Stevedore Straps
Single Stevedore Strap
Filling & Closure

Open Top with Hem

Tie-Down Flap

Duffel Top

Open Top & Tightening Holes

Open Top with Draw Cord
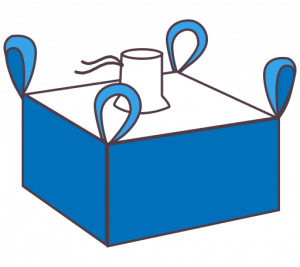
Filling Spout
Discharge
Discharge Spout

Discharge Spout with Iris Protection
Discharge Spout with Petal Closure
Discharge Spout with Sewn Cover

Discharge Spout with Protection Flap
Full Drop Bottom